

 Stefan Badertscher
1 min read
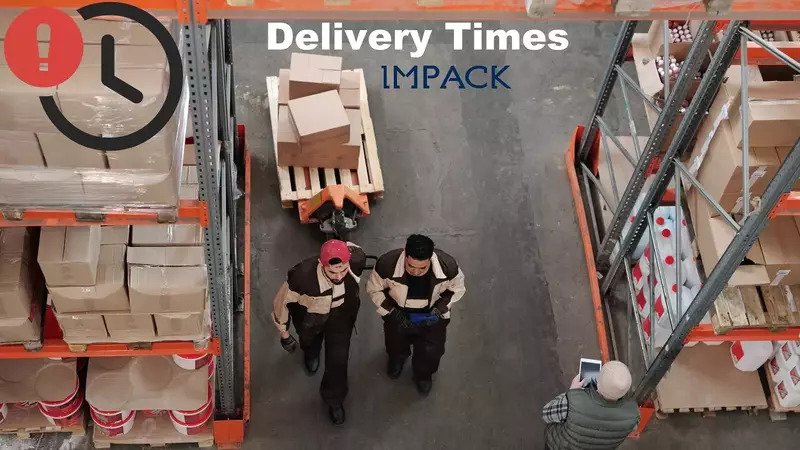
Why Are Delivery Times Longer than Usual & What Is IMPACK Doing to Address this? (+ FAQs)
Nothing is more infuriating than these two words: “Delivery delay.”
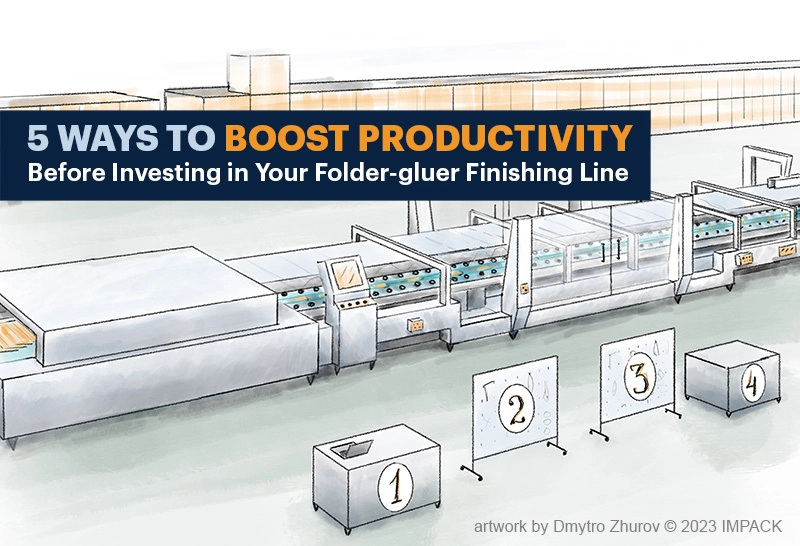
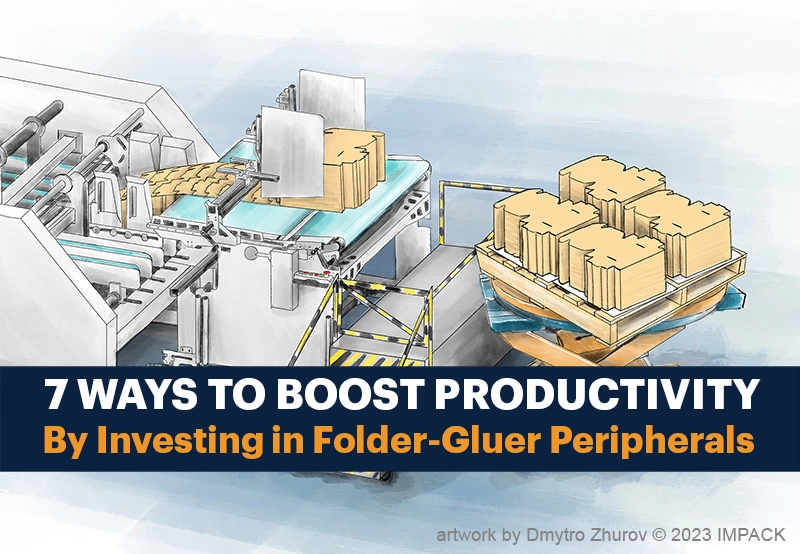
Every company aspires to increase its folder-gluer productivity and maximize output potential. Before considering investments in new machinery, it's prudent to analyze your production process and unlock its full potential. Many of the most impactful ways to enhance productivity require dedicating time and effort to optimize your existing processes.
Hello, I'm Stefan Badertscher, Director of Revenue at IMPACK. Over the last 8 years, I visited over 400 production plants and saw, first hand, what the most and least successful packaging producers do in their day-to-day work. Here's a summary of optimization strategies I've gleaned to help you get to your highest productivity levels.
Meeting customer demands all starts with efficient production planning, accurate forecasting, and meticulous scheduling. But even the best laid plans can be affected by external factors, such as supplier issues, transportation delays, or global events like the COVID 19 pandemic, can disrupt the supply chain and hinder production. In addition to supply chain and inventory management having a disaster recovery plan is crucial to prevent shortages that could disrupt production.
 OPTIMIZATION OPPORTUNITY 1
Continuously improve supply and demand planning. Schedule quarterly meetings to review inventory, supply chain and demand fulfillment issues. Compare corresponding quarters and identify unique external factors that influenced shortages. Have a disaster recovery plan.
Operational optimization is really the foundation for productivity, but with over 20 years of experience analyzing folder-gluer finishing lines and designing solutions to make them more efficient, our specialty at IMPACK is WORKFLOW OPTIMIZATION.
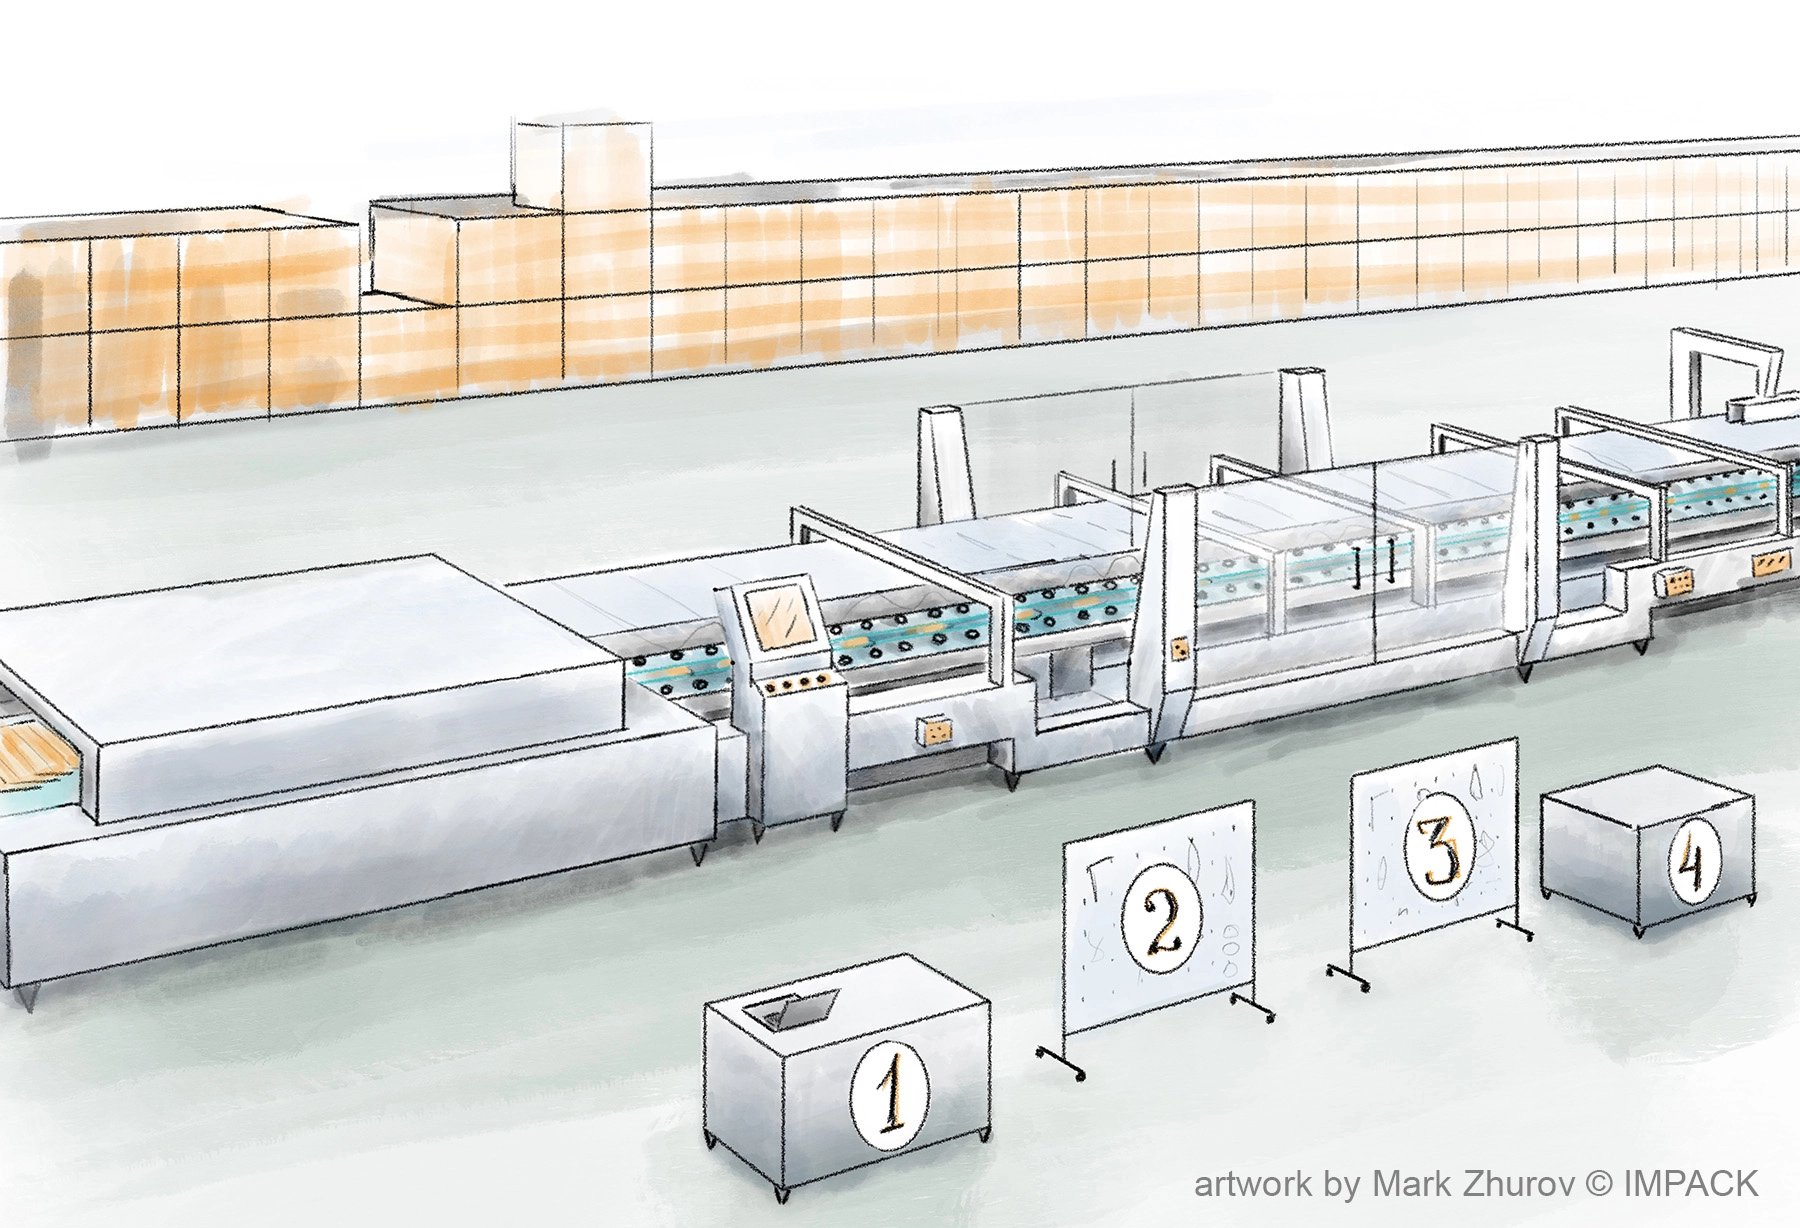
Poorly designed or inefficient workflows can lead to bottlenecks, delays, and wasted effort and time. As operations evolve over time, functions and machines are added, sometimes inefficiencies develop. Scheduling time for your team to review your workflow will reveal ways the layout can be improved. On the folder-gluer finishing line, seconds matter, as they can quickly add up and turn into thousands of boxes - making you more competitive and profitable. Take a close look at the layout, walk patterns and work methods to find ways to make it as efficient as possible. As you analyze your production, you will be looking at how you can shave seconds off the time it takes to do tasks at several points along the production.
Frequent changeovers between different product types or sizes can be time-consuming. Streamlining changeover processes and reducing setup times is crucial.
Inefficient layout and lack of ergonomics for physical jobs can lead to unnecessary fatigue and affect employee satisfaction levels. Inefficient workflows and employee disengagement can result in safety issues, leading to workplace accidents, injuries, production stoppages and increased insurance costs. Prioritizing safety measures is essential to prevent such incidents.
Inefficient processes or a lack of quality control can result in excessive material waste or product scrap. Properly conducted quality checks and inspections are essential to prevent the production of defective products that may require rework or disposal, affecting both productivity and profitability.
Neglecting routine equipment maintenance can result in breakdowns and reduced productivity. Unexpected breakdowns can disrupt production schedules, delay client fulfillment, and reduce overall output. Proper equipment maintenance and preventive measures are essential to mitigate this issue. Implementing a robust maintenance schedule is essential. Having a supply of replacement parts and readily available tools can help mitigate downtime resulting from unplanned maintenance.
During a folder-gluer operation, there are certain steps and procedures that are regularly taken. Who sets up the folder-gluer? Who is responsible for bringing the pallets with the box blanks? Who prepares the case labels? Who is responsible for periodically checking the inventory of tools and machine spare parts?
I recommend taking some time to evaluate the layout, walk patterns and work methods during a production run, but don't do this alone. Hovering over your workers with a clipboard will just make the team feel intimidated or suspicious. Get your finishing line team involved. Explain that the goal is to make their job more efficient and ergonomic - making their life easier.
With your current Standard Operating Procedures(SOP) in hand, analyze your work methods at each station and assess walking patterns during setup and production. You may be surprised to see workers repeatedly reaching for, bending toward, and walking to inconveniently placed materials. Empower your team to make changes to the line that reduce steps and movements.
Take time to observe the walking patterns of all your personnel during repeated production runs and setups. The goal is to reduce steps, and avoid having people crossing each others’ paths during operations, especially around the packing station. Observing walk patterns can be very revealing in terms of unnecessary movements. It could be something as straightforward as inefficient placement of tools during a folder-gluer setup. Move tool storage close to where they will be used. Another example is often-used supplies. You don't want packing personnel taking a long walk to find tape when it runs out. Think about what actions need to be frequently taken and organize a sequence so that your operator standardizes what to do, when, and with what tool.
Working with your finishing line crew, adjust the layout around the folder-gluer to maximize efficiency. Closely related to walk patterns are the movements and sequences required to carry out a task. Analyze each step, task and movement in the process. For each task define what to do, when to do it, where to do it and with what tool (if needed).
Look at your team. Have you experienced a lot of employee turnover in the past few years? Efficient layouts that reduce worker movements and ergonomic machine configurations can go a long way to improving worker productivity.
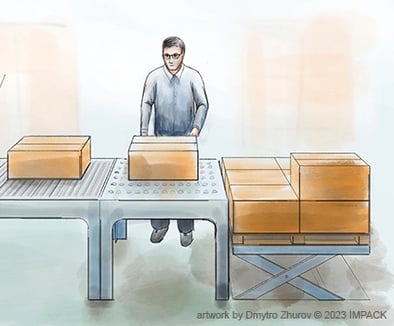
A case of this size can weigh around 10kg or 22lbs. If he palletizes two cases per minute he could be lifting 9.5 tons per 8 hour shift. These are the type of tasks that can be automated or at least made more ergonomic.
Remember the acronym P.E.M.
 Think about where the most convenient location would be for all materials and tools. Shelves, lifts, and conveyors put materials close to where they will be used, saving precious seconds at several key locations. Use lifts to bring carton blanks to the pre-feeder, integrate shelves for samples and breakers at the packing station, and install lifts and tables to make the work of erecting and palletizing cases more ergonomic.
 These adjustments to your finishing line will go a long way toward increasing speed and improving worker satisfaction and retention. Minimizing movements and reducing rotations reduces injuries and allows workers to get more done without unnecessary effort. Ergonomic aides such as tables and conveyors are very inexpensive ways to improve the work experience of your workers.
But you may already be noticing that there are still some time consuming and physically demanding movements such as rotating and flipping batches of boxes that can not be eliminated with these "aides". Part 2 of this Series "Boost Productivity by Investing in Automation" will help you identify machine solutions that will eliminate these bottlenecks and double finishing line speeds.
Make tasks more ergonomic by installing tables, shelves, lifts and conveyors to minimize movements and reduce rotations and ultimately increase speed.
After defining a more efficient layout and process, document your refined process in Standard Operating Procedures and Logs.
Properly documenting your workflow and process has many benefits including:
SOPs and logbooks are similar in many ways. The main difference between an SOP and a logbook is that an SOP is used to break down a large or complex process into a step-by-step procedure and with the purpose of standardizing your process to achieve consistent performance levels. On the other hand, a logbook provides instructions in a defined order that you must follow to achieve a desired outcome.
Make those instructions concise, as easy to follow as possible and in the style/format/language that will be best understood by your team.
To develop and implement a successful SOP, follow the “Plan-Do-Check-Act” (PDCA) quality management model:
Developing and implementing SOPs will allow you to define “best practices”. SOPs give you the power to measure your performance and detect any deviations in results. This will ultimately allow you to take corrective actions, when needed, to ensure consistency in your performance and achieve continuous improvement.
 OPTIMIZATION OPPORTUNITY 4
Create Standard Operating Procedures (SOPs), Recipe Books, Quality Assurance (QA) Protocols, and Maintenance Logs to eliminate unnecessary inefficiencies in your process.
Additional tips for creating great SOPs and Log Books later in this article.
Insufficient training or inadequate skills among operators and technicians can result in errors, slow production, and the need for constant supervision. Errors made by employees during various stages of production can result in defects or rework, affecting productivity and product quality. Although some companies may be hesitant to pause production for training, investing time in training and skill development is critical, with any perceived loss quickly regained through increased productivity.
Poor communication between different departments or shifts can lead to misunderstandings, delays, and errors. Effective communication channels and practices are crucial. Low morale among workers can result in reduced effort, absenteeism, and higher turnover rates, all of which negatively impact productivity. Low morale can also lead to disengagement, which affects product quality. The solution lies in a strong upper management commitment to creating a positive workplace culture. If you suspect morale issues in your company, engaging an outside firm to help effect change can improve everyone's quality of life and positively impact your bottom line in a short amount of time.
 OPTIMIZATION OPPORTUNITY 5
Take care of your team. Engage an outside firm if you sense that employee morale is at an all-time low. Investing time in employee training will result in increased productivity.
Regular assessment, continuous improvement efforts, and a commitment to operational excellence are key to overcoming production bottlenecks and productivity challenges. Let’s review the 5 ways you can boost productivity to reach your maximum folder-gluer output before investing in new equipment.
Make manual tasks ergonomic to improve efficiency and staff retention
But what if you’ve already implemented these success strategies and you’re ready to take the next step by investing. Part two of this series: 7 Ways to Boost Folder-Gluer Productivity & Speed by Investing in Peripherals will review ways that investing in machine technology, specifically automation, can help you become more competitive even in challenging economic times.
Understand the Process: Begin by thoroughly understanding the folder-gluer finishing line or machine process. This includes identifying all the steps involved, potential hazards, and quality control checkpoints. Collaborate with experienced operators and technicians who have in-depth knowledge of the machine. Their input is invaluable for creating comprehensive and effective SOPs.
--------
Logbook Tips:
Tips to help packing producers develop an effective logbook for machine set-ups especially those that do not have the support of an automated interface:
See how investing in updated technology can help you address labor shortages, machine obsolescence and rising energy costs in part 2 of this series.
1 min read
Nothing is more infuriating than these two words: “Delivery delay.”
1 min read
In this industry, where profits are pennies per package, staying competitive comes down to eliminating inefficiencies and ramping up speed. In the...
1 min read
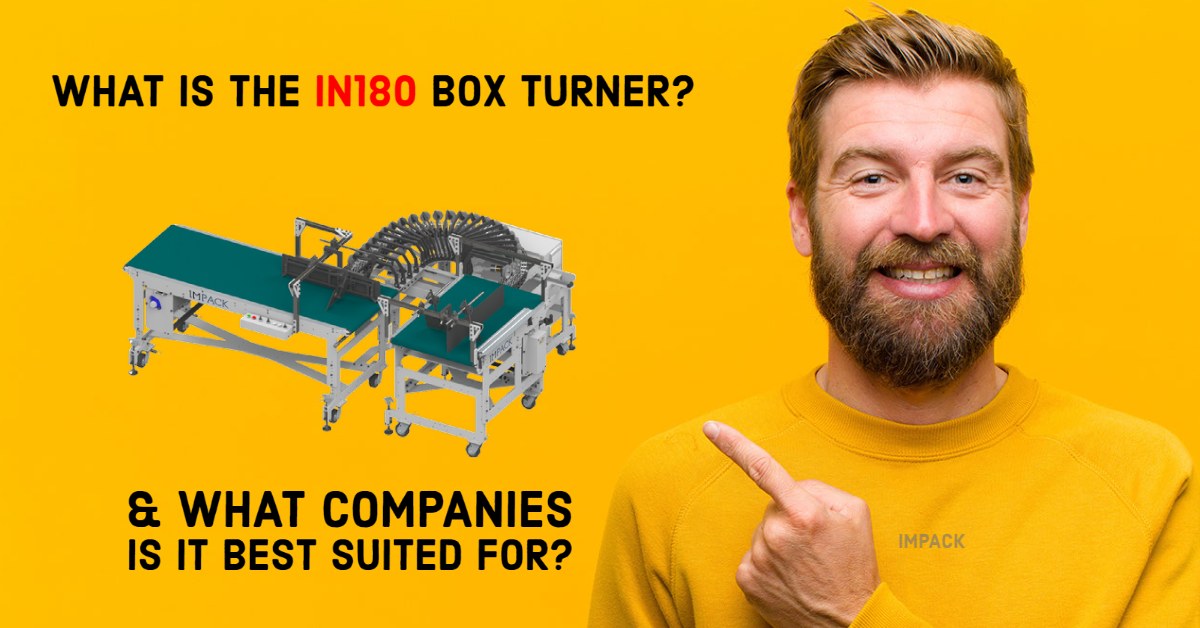
If you own an Automatic packer such as Bobst's CartonPack, you may need to turn your boxes 180° before they can be packed into the case.